A narrative is the heart of a visual novel, this tutorial shows you how to use Project Mammut to create your own story that can be use in a visual novel or exported for use in other game engines.
Create a new project:
For this tutorial we we use the blank project template. If you want to use one of the project templates later if is very easy to export what you have written in this tutorial into other Project Mammut projects.
From the Project Hub select Templates
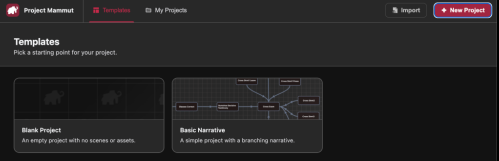
Then chose the Blank Project template.
Give your project a Name and an optional Description.
Then click on the Create Project button.
You will now be in the Project Mammut Editor.
In the File Manager locate the chapters folder.
Double click on this folder to open it. Inside you should see a Chapter file.
Double click on this file to open the Chapter Editor.
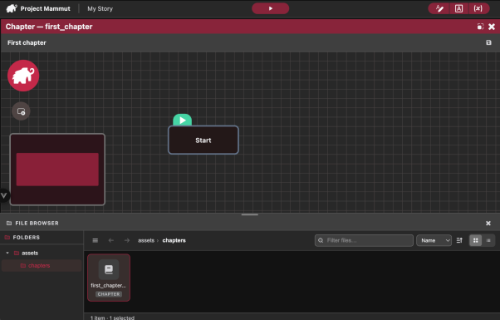
You can also close the File Manager now if you need more room.
Chapters
Mammut breaks up its story elements into Chapters. Chapters could be a day in your game, or an area in your story, or you could put the entire game into one chapter.
It's suggest to just playing around with making chapters so you understand how it works, and you will get a good idea of what is best for your game.
Chapters consist of a collection of Nodes. There should be only one node in your Chapter when you create it labelled ‘Start’.
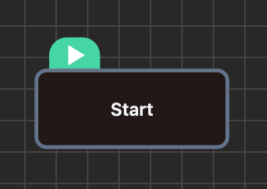
See that this node has a green tag on it with a play icon. This indicates that this is the start of the chapter, you can move this tag to another node at any point by right clicking on another node and designating it as the start node.
If you double click on this node you will open the Node Editor window.
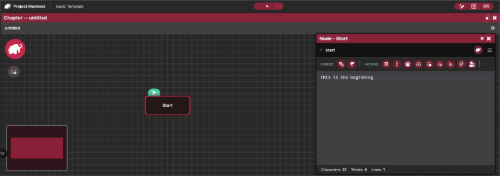
This window contains the first passage of your chapter, you can start writing whatever you like in here.
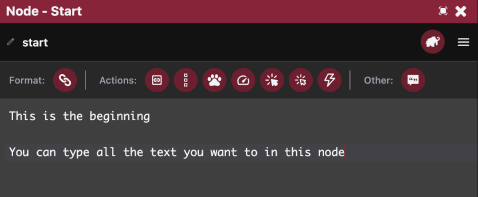
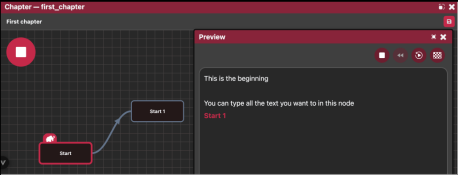
To preview your chapter, click on the Mammut button in the top right corner.

This will bring up the Preview window, and will start printing out the text in your chapter
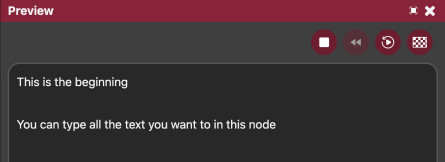
To stop playing, just click the Stop button in the top right of the window.

There are several ways to create new nodes, but the easiest way to hover your mouse on a node and look for the connection point that will appear on its right side.
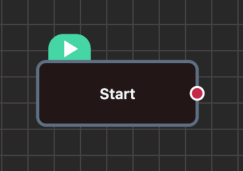
Click and drag on that point to extend out a link, and then let go to create a new node
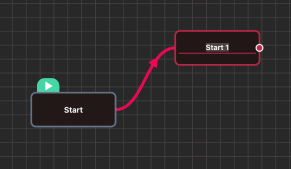
You will get the chance to give this node a id, and from there you can double click on this new node to edit its text.
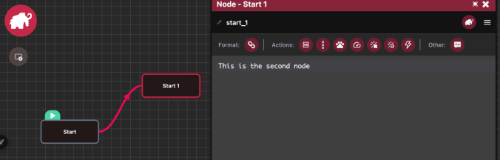
If you open up the first node, you will see that a new line has been created.
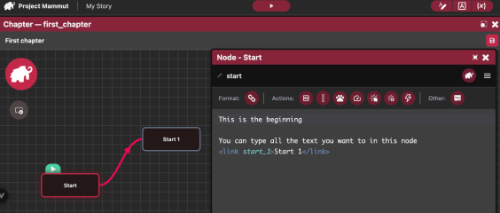
We will explain this shortly, but this line tells Mammut how to link the nodes together.
Press the Mammut button again to preview your modified chapter.
When the first node plays out, it will give you a link that you can click on that will take you to the next node.
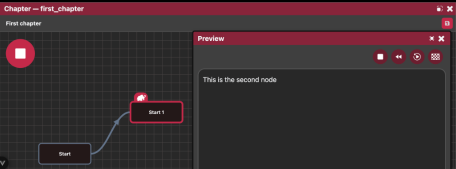
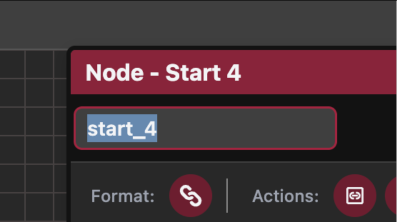
If you want to rename a node, you can click on its id in the top left hand corner of the Node Editor.
You can now continue this process to start creating your own branching web narrative.
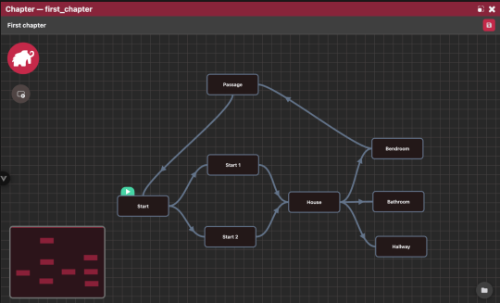
If at any point you want to test your chapter for a node other than the start node. You can right click on it and select Test From Here.
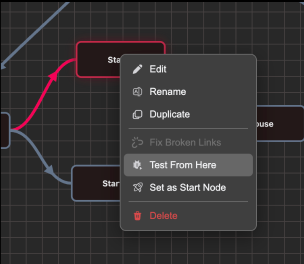
You can also do the same from within the Node Editor by clicking on the little mammut button (Kleines Mammut):
Customising Links
Let’s look at some links that we have set up in more detail
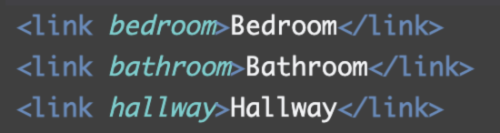
If you are familiar with HTML then this way of formatting (also called “Mark up”) will be quite familiar to you.
For more information about HTML have a look here: ` https://www.w3schools.com/html/
But simplified, there is an opening tag, that also contains the name of the node that it links to:

The followed by the text you want to display:

And finally a closing tag (indicated by the forward slash)

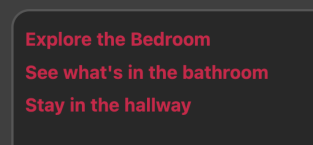
You can edit the text displayed to whatever you wish:

And when played, will make the links say whatever you want.
Adding links manually
At the top of the node editor, there are a series of shortcut buttons to help you create your story.
The first will create a link text:

Which you can then edit:
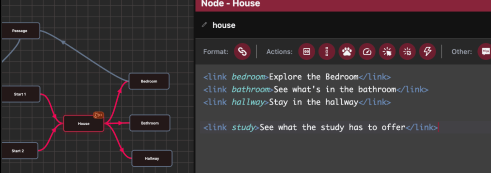
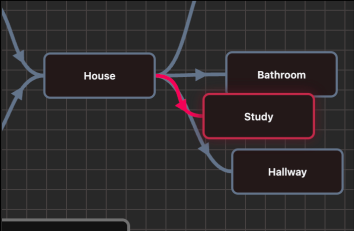
Now note that in this example the new link points to the study in which there isn’t a node called study in the chapter yet.
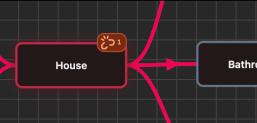
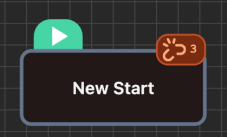
This is indicated by the broken link icon on the node.
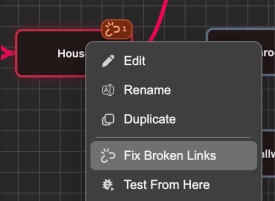
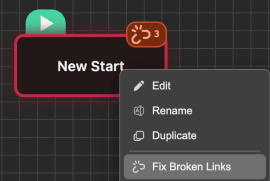
To automatically fix this, you can right click on the node and select Fix Broken Links to have Mammut automatically create these nodes for you.
Styling
You can style your text in a wide variety of ways. To add your own styles you can click on the Style Manager button found in the top right corner of the desktop.
This will open the Style Manager window.
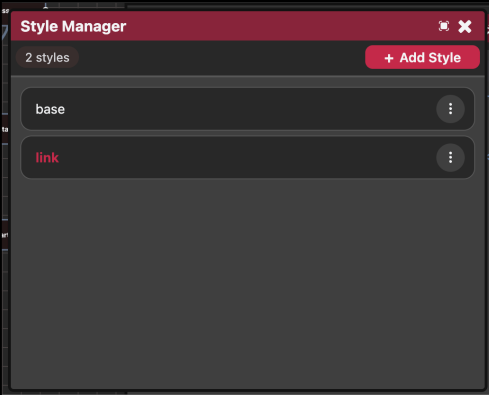
Currently there are styles set up for:
Base- the base settings for all textLink- the style for your links.
To add a new style, click on the Add Style button

This will bring you to a form to fill in.
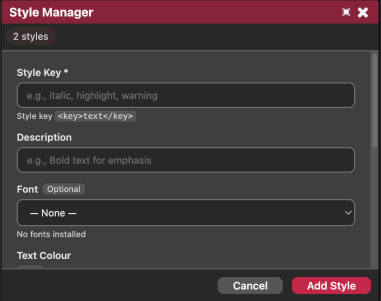
First you need to give your style a key, this will be lowercase with no spaces.
You can then edit elements of the style such as the colour:
Or add CSS rules.
CSS is how HTML styles itself, you can learn more about this here: https://www.w3schools.com/css/
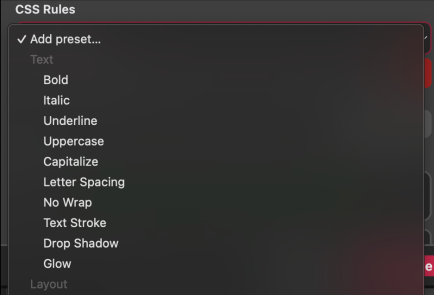
There is a dropdown preset list for you to quickly add common styles:

You can select as many as you wish:
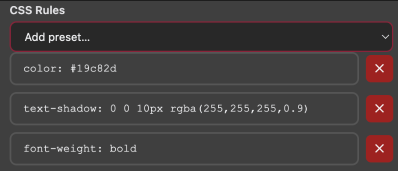
The CSS rules will then all be listed here, where you can edit their values or remove them.
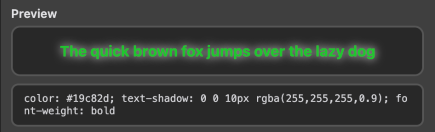
And you can preview your changes in the preview section.
Once you are happy, you can click on the Add Style button to save your changes.

Once done you should see your new style in the style list.
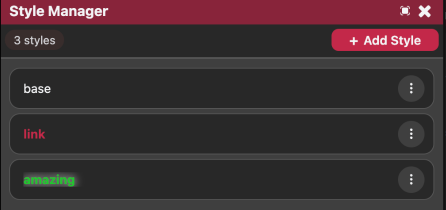
Now, back in the Node Editor you should see a new button has been added.
This button will add your new style into the node.
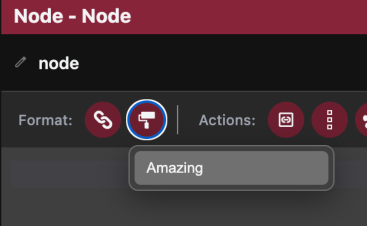
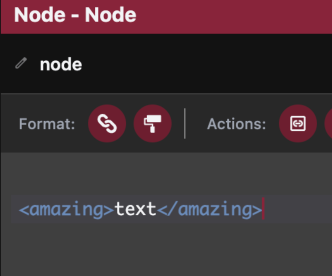
You can see that it follows the same HTML standard of having an open and closed tag, using the id that you gave it.
And when you preview your story, you should see your style produced:
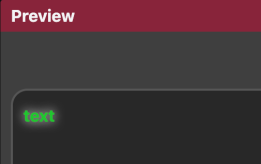
You can now use that style on whatever text you wish:

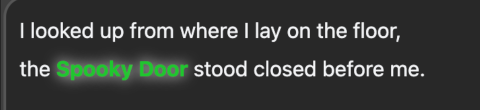
And add in as many other styles as you wish:

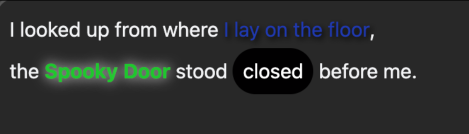
Fonts
Mammut can also use whatever fonts that you wish. Built in there is a Font Manager that allows you to install fonts automatically.
Node: Fonts can have strict licences on them and can get you into trouble if you use a font that you are not allowed to use. Mammut’s Font manager pulls fonts only from Google Fonts which are all free to use and don’t require a licence.
The Font Manager will show all the fonts your project has installed:
Use the instructions on the Font Manager page to add fonts to your project.
Editor Shortcuts
There are a lot of other shortcut buttons in the Node Editor that you can use, we will go through a few of them here:

Pause
Pause is used to pause the text revealing for a set amount of time.
The number indicates how many seconds to pause for, this can be a decimal value if you want.
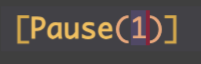
Place the pause between two lines of text to make the preview halt for a second before continuing.

Text Speed
Using this will change how fast or slow the text will be revealed.
In this case, the number is a multiplier of the base speed:
1 = normal speed
2 = double speed
0.5 = half speed
You can use this in your text to emphasise moments and add emotion.

Link Options
Depending on the game you are making, sometimes you don’t want to provide links in your text, but instead provide the user with a list of options to choose from:

This is the purpose of link options:
With the text, the first part:
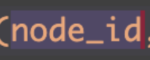
Is the node id that this option will take you to
And the second part:
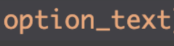
Is the text that you want to be displayed to the player:
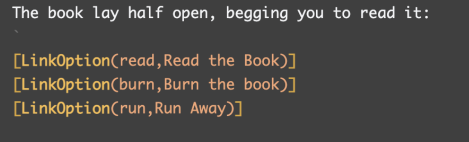
If these nodes have not been created yet, you will produce broken links on the node that you are editing:
Which you can resolve by using the menu to Fix Broken Links
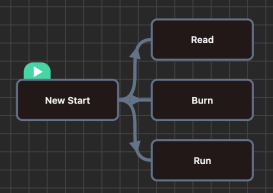
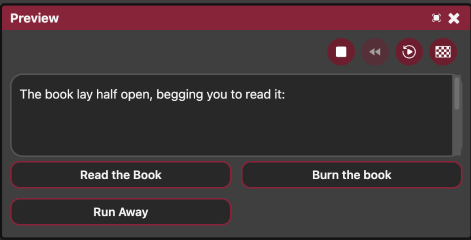
Now when you play this node, you will be provided with a selection of options to pick from:
Await Click
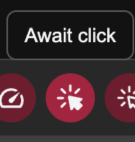
Await click stops the preview from displaying more text until the user clicks their mouse button.

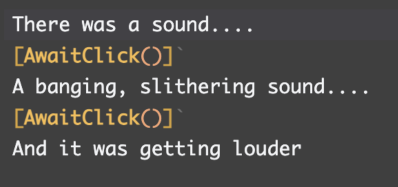
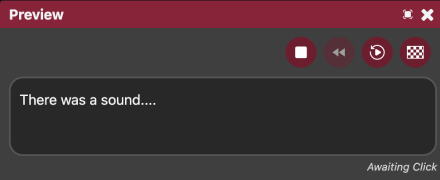
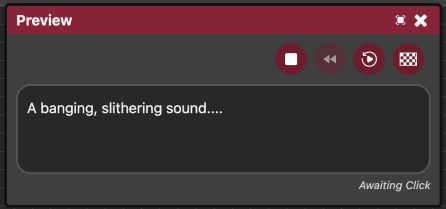
When played back you will see a prompt for Awaiting Click before it will proceed.
Await Click and Clear
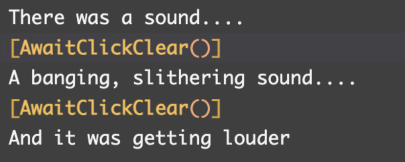
This works the same as Await Click but will clear the preview window of any text before continuing.

AutoLink
Auto links are the third way you can join nodes. When used they next node will automatically be loaded without the user doing anything

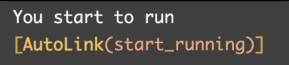
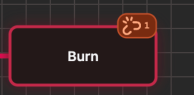
This again will create broken links until you fix them.
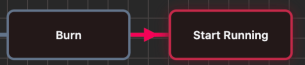
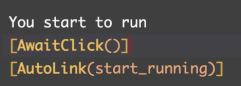
If you try and play the node now, it will jump to the next node straight away. To make this more usable, pairing it with an Await Click is normally use.
Custom Events
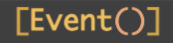
Custom events won’t do anything in the preview. Chapters are designed to run inside game Scenes which you will be covered in another tutorial. Events are a way for the chapter to communicate with the scene.
You could for instance, make a ChangeBackground event that has the property of windmill.

This will be sent to the scene, and you would set up the scene to listen for this and change the background when it hears it.
But again, this won’t do anything yet, it’s just good to know about it.
Comments
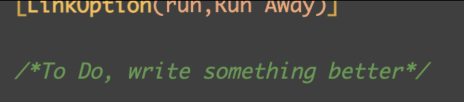
Comments can be used for a few things. They are sections of text that are ignored by the preview window.
If you select any text and click the Comment button, that text will turn green telling you that it will be ignored (notice the /* and */ tags here indicating the start and end of the comment.
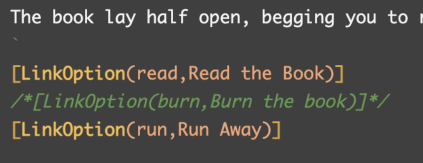
You can also use comment to leave notes for yourself and other people on your team
Continued reading
There are even more events and commands that you can use in your chapters, for more information see the Writing Chapters page.