Learn how to quickly create your own game using the built-in templates.
Files you'll want on hand: any background images, character images, and music files you want to use.
Create a new project
The first step is to create a new project. With the app open, click New Project.
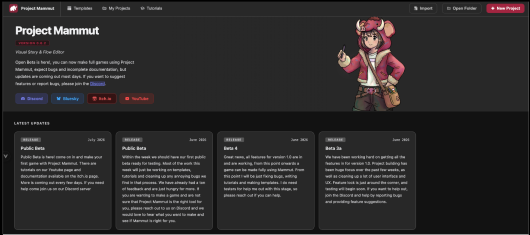
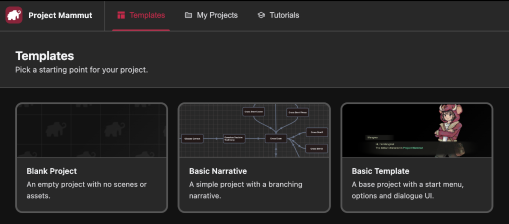
You'll be asked to select a template to start from.
For this tutorial you can pick the Basic Template
You'll then be asked for a Project Name and where to save it.
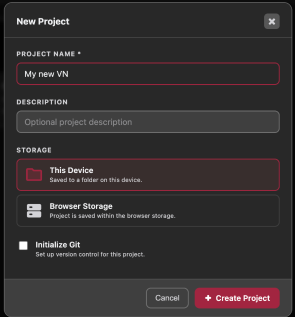
The exact options here depend on which version of Project Mammut you're using (the itch.io version or the one hosted on the Project Mammut website), and on which browser you're using. It's always recommended to store your project This Device for the best access to your files. If you use Browser Storage instead, back your project up every few days: browsers can clear that storage automatically, without warning. See Getting Started for more on both options.
The editor will look like this:
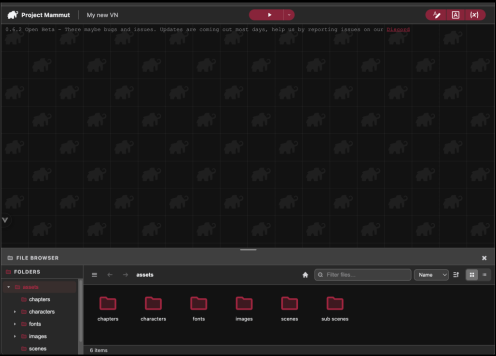
The File Browser sits along the bottom, the editor workspace fills the middle, and the control buttons sit along the top. At any point you can click the Preview Play button to try your game as you go.
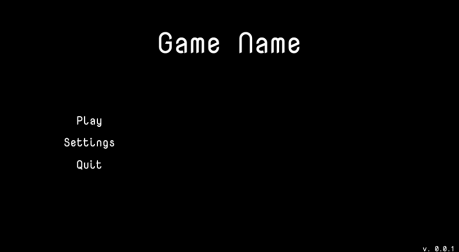
Main menu
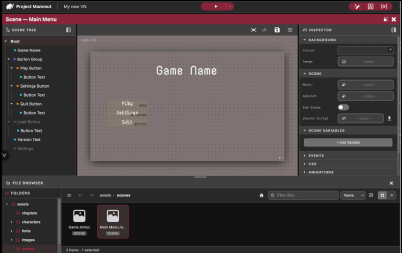
The first thing worth changing is the main menu. Every part of the game is held as a scene, so we'll edit the main menu scene.
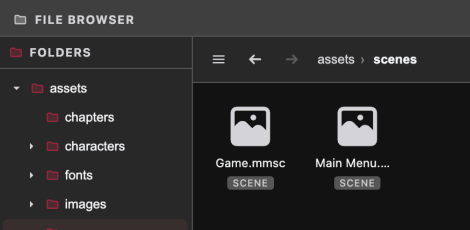
In the File Browser, double-click the scenes folder.
There should be two scenes in there: one for the main menu, one for the game itself. Double-click the main menu file to open it.
Fonts
Project Mammut gives you full access to any font you want to use, including a simple way to download and use any Google Font.
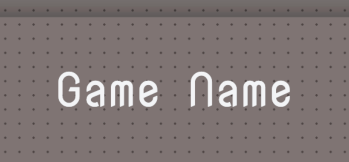
Every text element in this template already has its own style. You can edit any of them to make the game your own. We'll use the title text as an example, but the same steps apply to any text in your game.
Fonts are managed from the Font Manager, in the top-right corner of the editor.
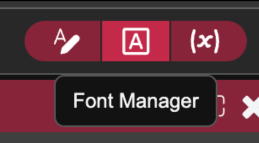
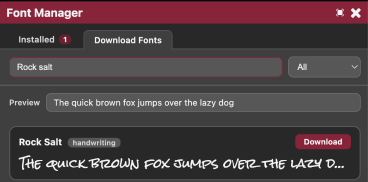
Opening it shows every font currently installed in your project. To add a Google Font, click the Download Fonts tab.
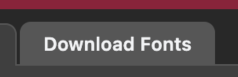
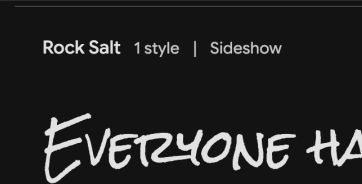
Here you'll find a searchable list of Google Fonts. You can search from here directly, or browse fonts.google.com for a more detailed search, then copy the name of whichever font you like.
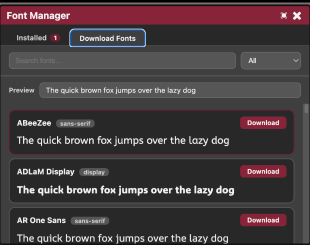
Paste that name into the Font Manager's search field, then click Download to install it into your project.
The font shows Installed once it's done.
Downloaded font files land in assets/fonts in your project. A single download sometimes installs several weights or styles of the same font; feel free to delete whichever ones you don't need.
Now that the font's installed, apply it to a style. Open the Styles Manager, also in the top-right corner.
This lists every style currently in the project, and lets you add or delete styles freely.
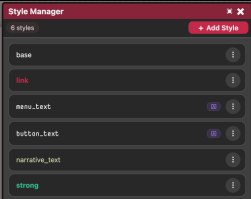
One style, base, is special: it's the base every other style builds on, so changing the font there changes it everywhere at once, unless a more specific style overrides it. See Styles Manager for more on how base works.
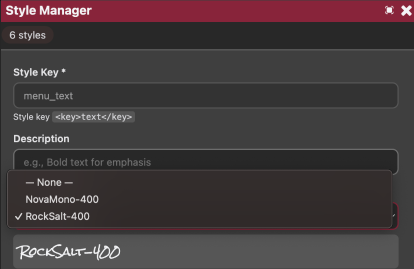
To change the menu text's font specifically, click the menu button next to the menu_text style and choose Edit Style.

From here you can edit any of that style's properties. Use the Font dropdown to pick the font you just downloaded, and change the colour here too if you want.
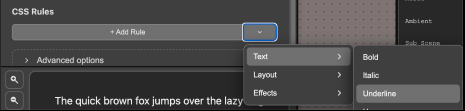
Project Mammut styles content with real CSS. There's a section here for adding CSS rules directly, things like drop shadows, glows, and plenty more; see MDN's text decoration guide for ideas. There's also a presets dropdown next to the Add Rule button if you'd rather not write CSS by hand.
Once you're happy, click Save Changes.

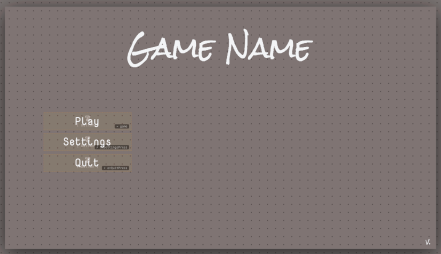
Any text using that style updates immediately.
Change the text
Next, change what the title actually says. Select the text element directly on the canvas,
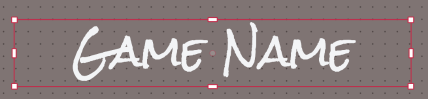
or find it in the scene tree on the left.
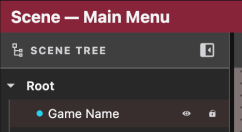
With it selected, its settings show up in the Inspector on the right. Scroll down to the Text section
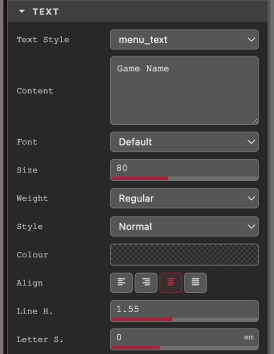
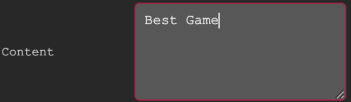
and update Content to your game's name.
A few fields here (font, size, colour, and so on) also exist on the style itself. If you change one directly on the node, it overrides whatever the style says, the same "last rule wins" logic as regular CSS. See Text for the full field list.
That's it, you can go through and adjust any other styles the same way to make the game your own.
Scene backgrounds
Adding a background to a scene is easy. First, make a folder for your images. In the File Browser, navigate to the images folder,
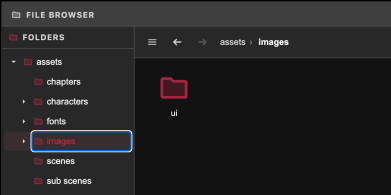
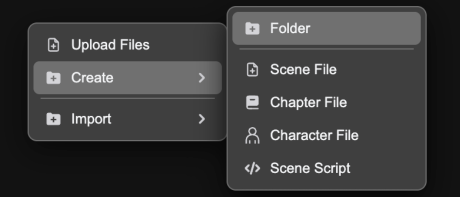
right-click and choose Create → Folder,
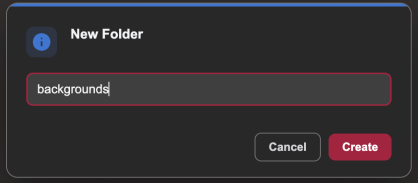
and name it backgrounds.
This project is set up with a Reference Resolution of 1280×720, shown in the top-left corner of the Scene Editor.
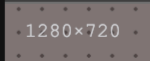
To keep things simple, make your art at that same size, since that's the coordinate space every node is positioned in.
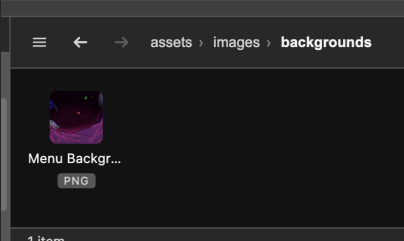
Once you've made your background image, drag it into your new backgrounds folder.
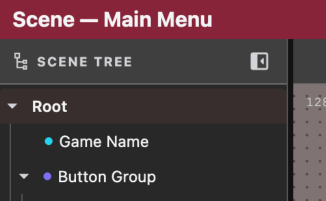
To apply it, select the Root node in the scene tree,
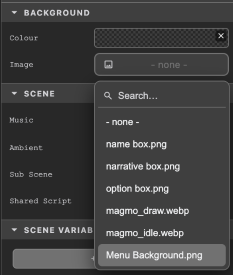
then, in the inspector's Background section, find the Image property and pick your file from the list.
Your image now shows as the scene's background.
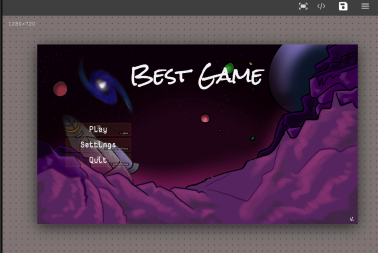
Don't forget to save the scene after making changes,

and preview the result in the game.
Characters
Setting up characters only takes a few steps. Open the characters folder inside your assets.
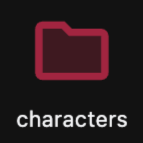
Create a new folder here for each character,
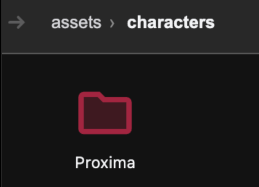
and inside it, create a new Character File.
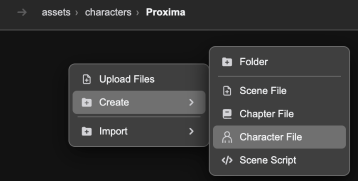
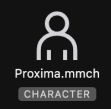
Once the file is created, the Character Editor will open.
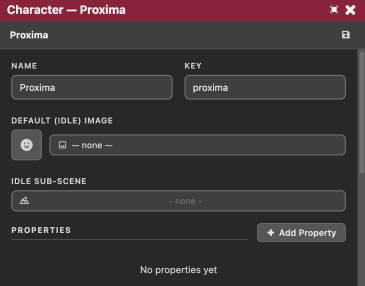
If you want an image for this character, make an images folder inside their character folder,
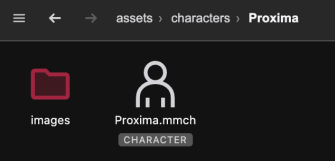
and copy their images in there.
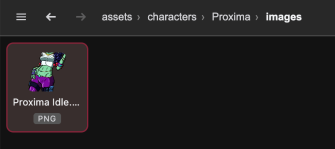
Make sure your images are sized against the reference resolution mentioned earlier, since that's the size they'll appear at in the game. Assign the default image via the Character Editor's Default Image property.
If it doesn't show up in the dropdown right away, close and reopen the Character Editor and it should appear.
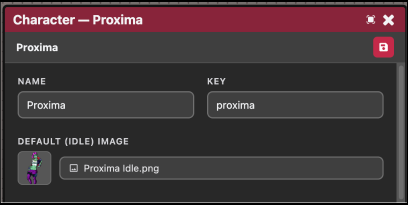
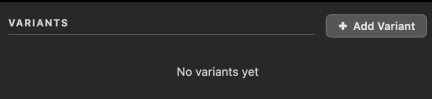
If your character has different expressions or outfits, add them as Variants and assign the matching images there.
Music
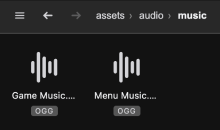
Project Mammut can play a few different audio formats, but .ogg (or .mp3 if that's not available) is recommended. It's best to keep your music under assets/audio/music in your project, to keep things tidy.
Drag in whatever audio files you want to use.
Back in the Scene Editor, with the Root node selected, you can assign the music that plays when the scene loads from the inspector.
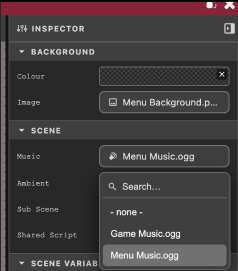
Play the game and your music should now play.
Chapters
Chapters are where the heart of your narrative lives, and where you control a lot of what happens in your game. There's already an example chapter under assets/chapters.
Create a new chapter here for each section of your game.
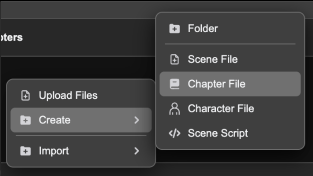
Read Creating a Branching Narrative for more information on how chapters can be created.
Chapters get assigned to scenes which is covered new
Scenes
You've already worked with scenes while editing the main menu. Game scenes work exactly the same way, including background and music, set exactly as above.
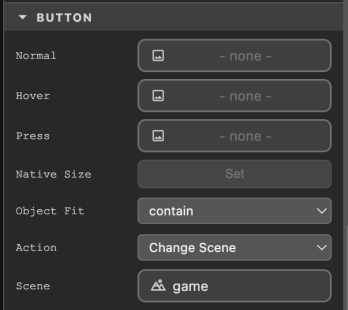
How your game knows which scene to load when the player presses Play is a setting on the Play button itself, back in the main menu. Its Action is set to Change Scene, with the Scene set to game. See Button for how that action works.
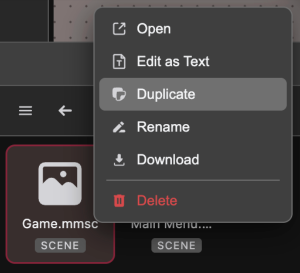
While you're still learning, it's easiest to duplicate the existing game scene whenever you want to add another one, rather than starting from scratch.
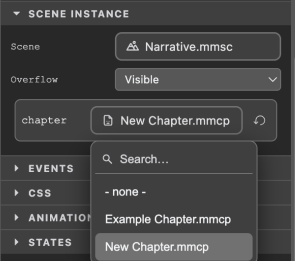
To set which chapter plays when a scene loads, select its Narrative sub-scene
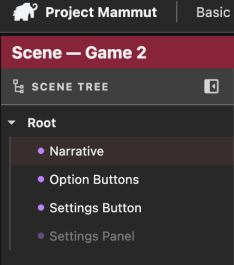
and change the chapter variable in its Scene Instance settings to whichever chapter you want.
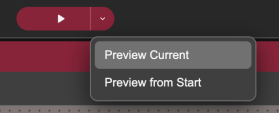
To test a scene on its own without playing through from the start, use Preview Current from the split Play button.