States are a simple way of managing different ways a objects looks or acts.
An object's default state is how you have set it up visually in the inspector. On top of that you add your own states to:
- Make it hidden
- Change it's colour
- Play an animation
Each state is effectively just more CSS rules applied on top of the default state.
Let's go through making some different states.
The Default State
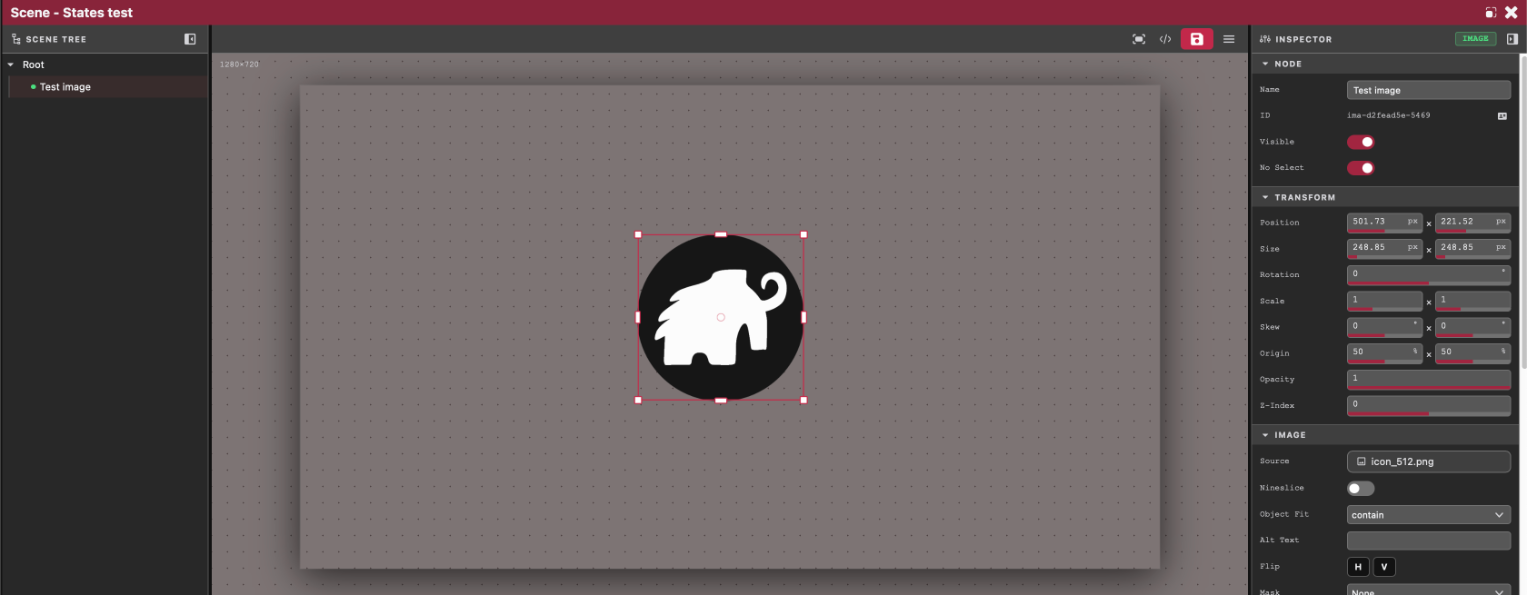
States can be used on any 2D element, in this example we will create an image node in the scene to demonstrate with.
The default state is just however you set up this image, (size position, scale etc.)
Adding a new State
Let's say we wanted this image to have a rotated state.
First we select the image, and find STATES in the inspector.
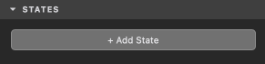
Then click on the + Add State button.
Name the new state rotated
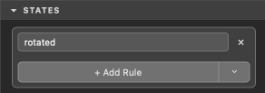
Now you have this state, you can apply any CSS rules to it.
Adding a Rule
Here you can click on the + Add Rule button, or use the dropdown to select a rule from a list of common rules.
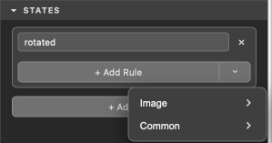
Here we will just add the rule ourselves by clicking on the + Add Rule button
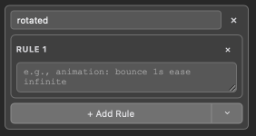
The CSS rule for rotation is:
transform: rotate(45deg);
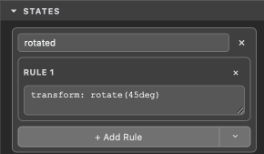
Preview Switching States
Once you have created your state you can preview it by scrolling to the top of the inspector where you will see a new Preview state dropdown.
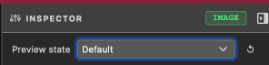
If you select the rotated state you will see the image rotates.
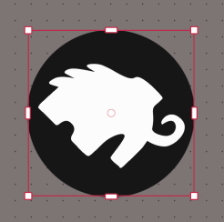
You can now add as many states so you like with as many CSS rules as you like as long as you follow CSS standards.
Transitioning between States
With the previous example the state changes suddenly. This might me exactly what you want, but you also might want to move between two states over time, this is what transitions are for.
You can add a Transition rule (available from the common rules dropdown) to any of your states.
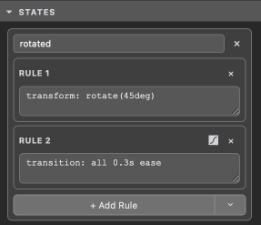
transition: all 0.3s ease;
What this says is that when you switch to this state, transition all the properties over a period of 0.3 seconds.
If you Preview the states now, you can see this transition happening.
Custom Transitions
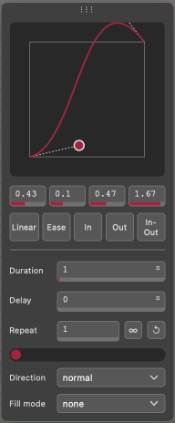
If you want to spice up the transition you can edit it with the animation editor button next to the transition rule.
Here you can change the duration and ease type of the transition.
Animations
Another uses for states is for playing animations.
In this example we are going to create two states:
- show
- hide
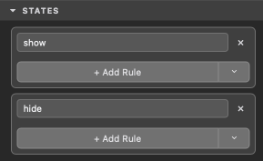
Then we will apply an animation to the image, find the ANIMATION section in the inspector and use the dropdown to add a Fade In animation, and a second time to add a Fade Out animation
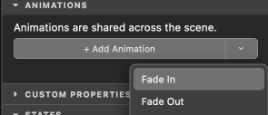
You should now see them listed as useable animations.
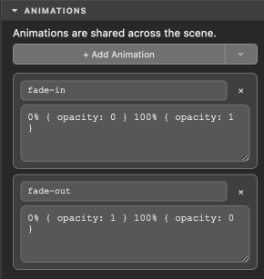
This however will just apply these to the Default State. We want to move them to states we have created.
If you look in the CSS section you will see the automatically applied rules to call both of these animations.
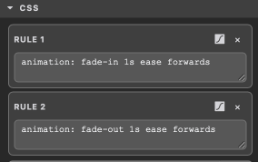 Since these are applied to the Default state, we don't want them here. simply delete them so that the
CSS is empty.
Then scroll back down to your newly created states, and in the show state, select the dropdown and choose Animations → fade-in
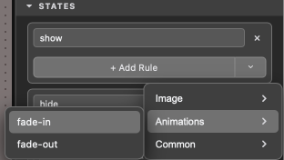
With your hide state, do the same but select Animations → fade-out
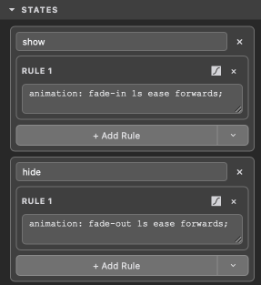
So in summary what we have done is set up two states (show and hide), that when switched to will trigger an animation.
Use the State Preview option to see your animations play.