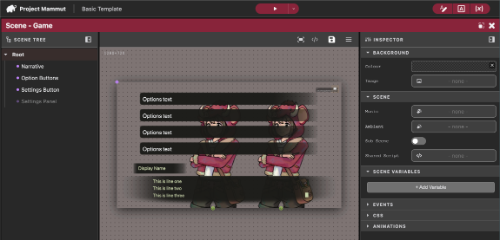
The scene editor is the editor view that allows you to view and edit Scenes
Scene Tree
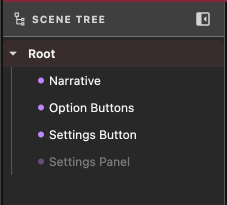
The Scene Tree located on the left is a tree view of all the Nodes in the scene. Nodes can be edited by selecting and then changing their properties in the Inspector (see below).
New nodes can be added by right clicking on an existing node to get a list of Nodes that can be added.
Inspector
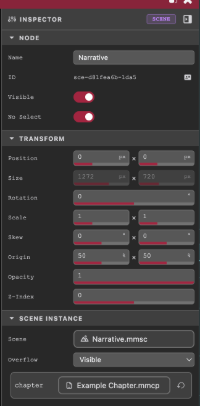
The Scene Inspector is located on the right and shows all the properties of the selected node. See the Node Types for details of different exposed properties of the selected node.
Reference Resolution
The canvas of the scene is set via the projects Reference Resolution.
Reference Bar
The Reference bar can be toggled on and off via the editor menu.
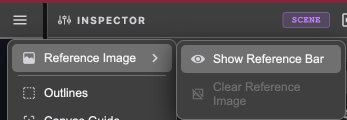
Once turned on the reference bar will appear on the left of the editor title bar.

By default there will only be an image drop icon.
By dragging an image from the File Manager to this image drop will enable the rest of the controls.
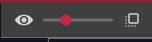
Whatever image you dragged here will be placed as a reference over the top of the nodes in your scene.
Via the controls, this reference image can be:
- Toggled on and off
- Have its opacity changed
- Switched its position from above all the nodes to below all the nodes
Snapping
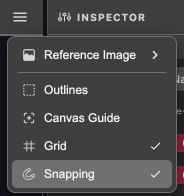 Node snapping can be turned on and off from the editor menu.
Sub Scenes
A scene can be marked as a sub-scene in the inspector. Doing so splits it into its own asset-picker pool.
Shared Scripts
A scene's script can also reference a shared script file (.mmss) instead of an inline one, so the same script can back several scenes.